
Most people agree that a first aid kit should be taken on every trip you do in the bush. However, the question that often remains unanswered is what a suitable first aid kit should contain. I decided to share some of my thoughts about first aid kits here and also put up an inventory of my current kit.
Years ago, when I wanted to get myself a first aid kit for the first time, I thought about buying one off the shelf. Luckily people advised against it because it would have been a waste of money. If you want to have a good kit, you need to hand select the items you might need for your own adventures and you also need to know how to use them and what they are for. The off the shelf kits I’ve seen tend to contain cheap items that are often of poor quality are are tailored towards single use only.
For example I recently saw one that contained a pair of sterile tweezers in a little container. The container just wasted space and after using it the first time it certainly isn’t sterile any more anyway. Also, while for common injuries like sprained ankles you will want one of the strong brown bandages for good support, most off the shelf kits simply contain the much cheaper white ones.
When I think about a first aid kit, I don’t see it just for medical first aid items. For me it is the bag of little things that I want to have with me all the time but I don’t expect to use. Subsequently, things like fire starters, tools for gear repair and so on have their place in there, too.
I also take into consideration what kind of endeavours it is for. Most of my trips are weekend trips in the Blue Mountains or similar. Thus, I usually expect to be within a days walk of civilisation, which limits the amount of stuff I need to carry. If I was to go on a more remote expedition I would have to rethink what to take. For example, in my view there is not much point in taking antibiotics on a short trip. But if you’re on your own for weeks you probably want to consider taking some.
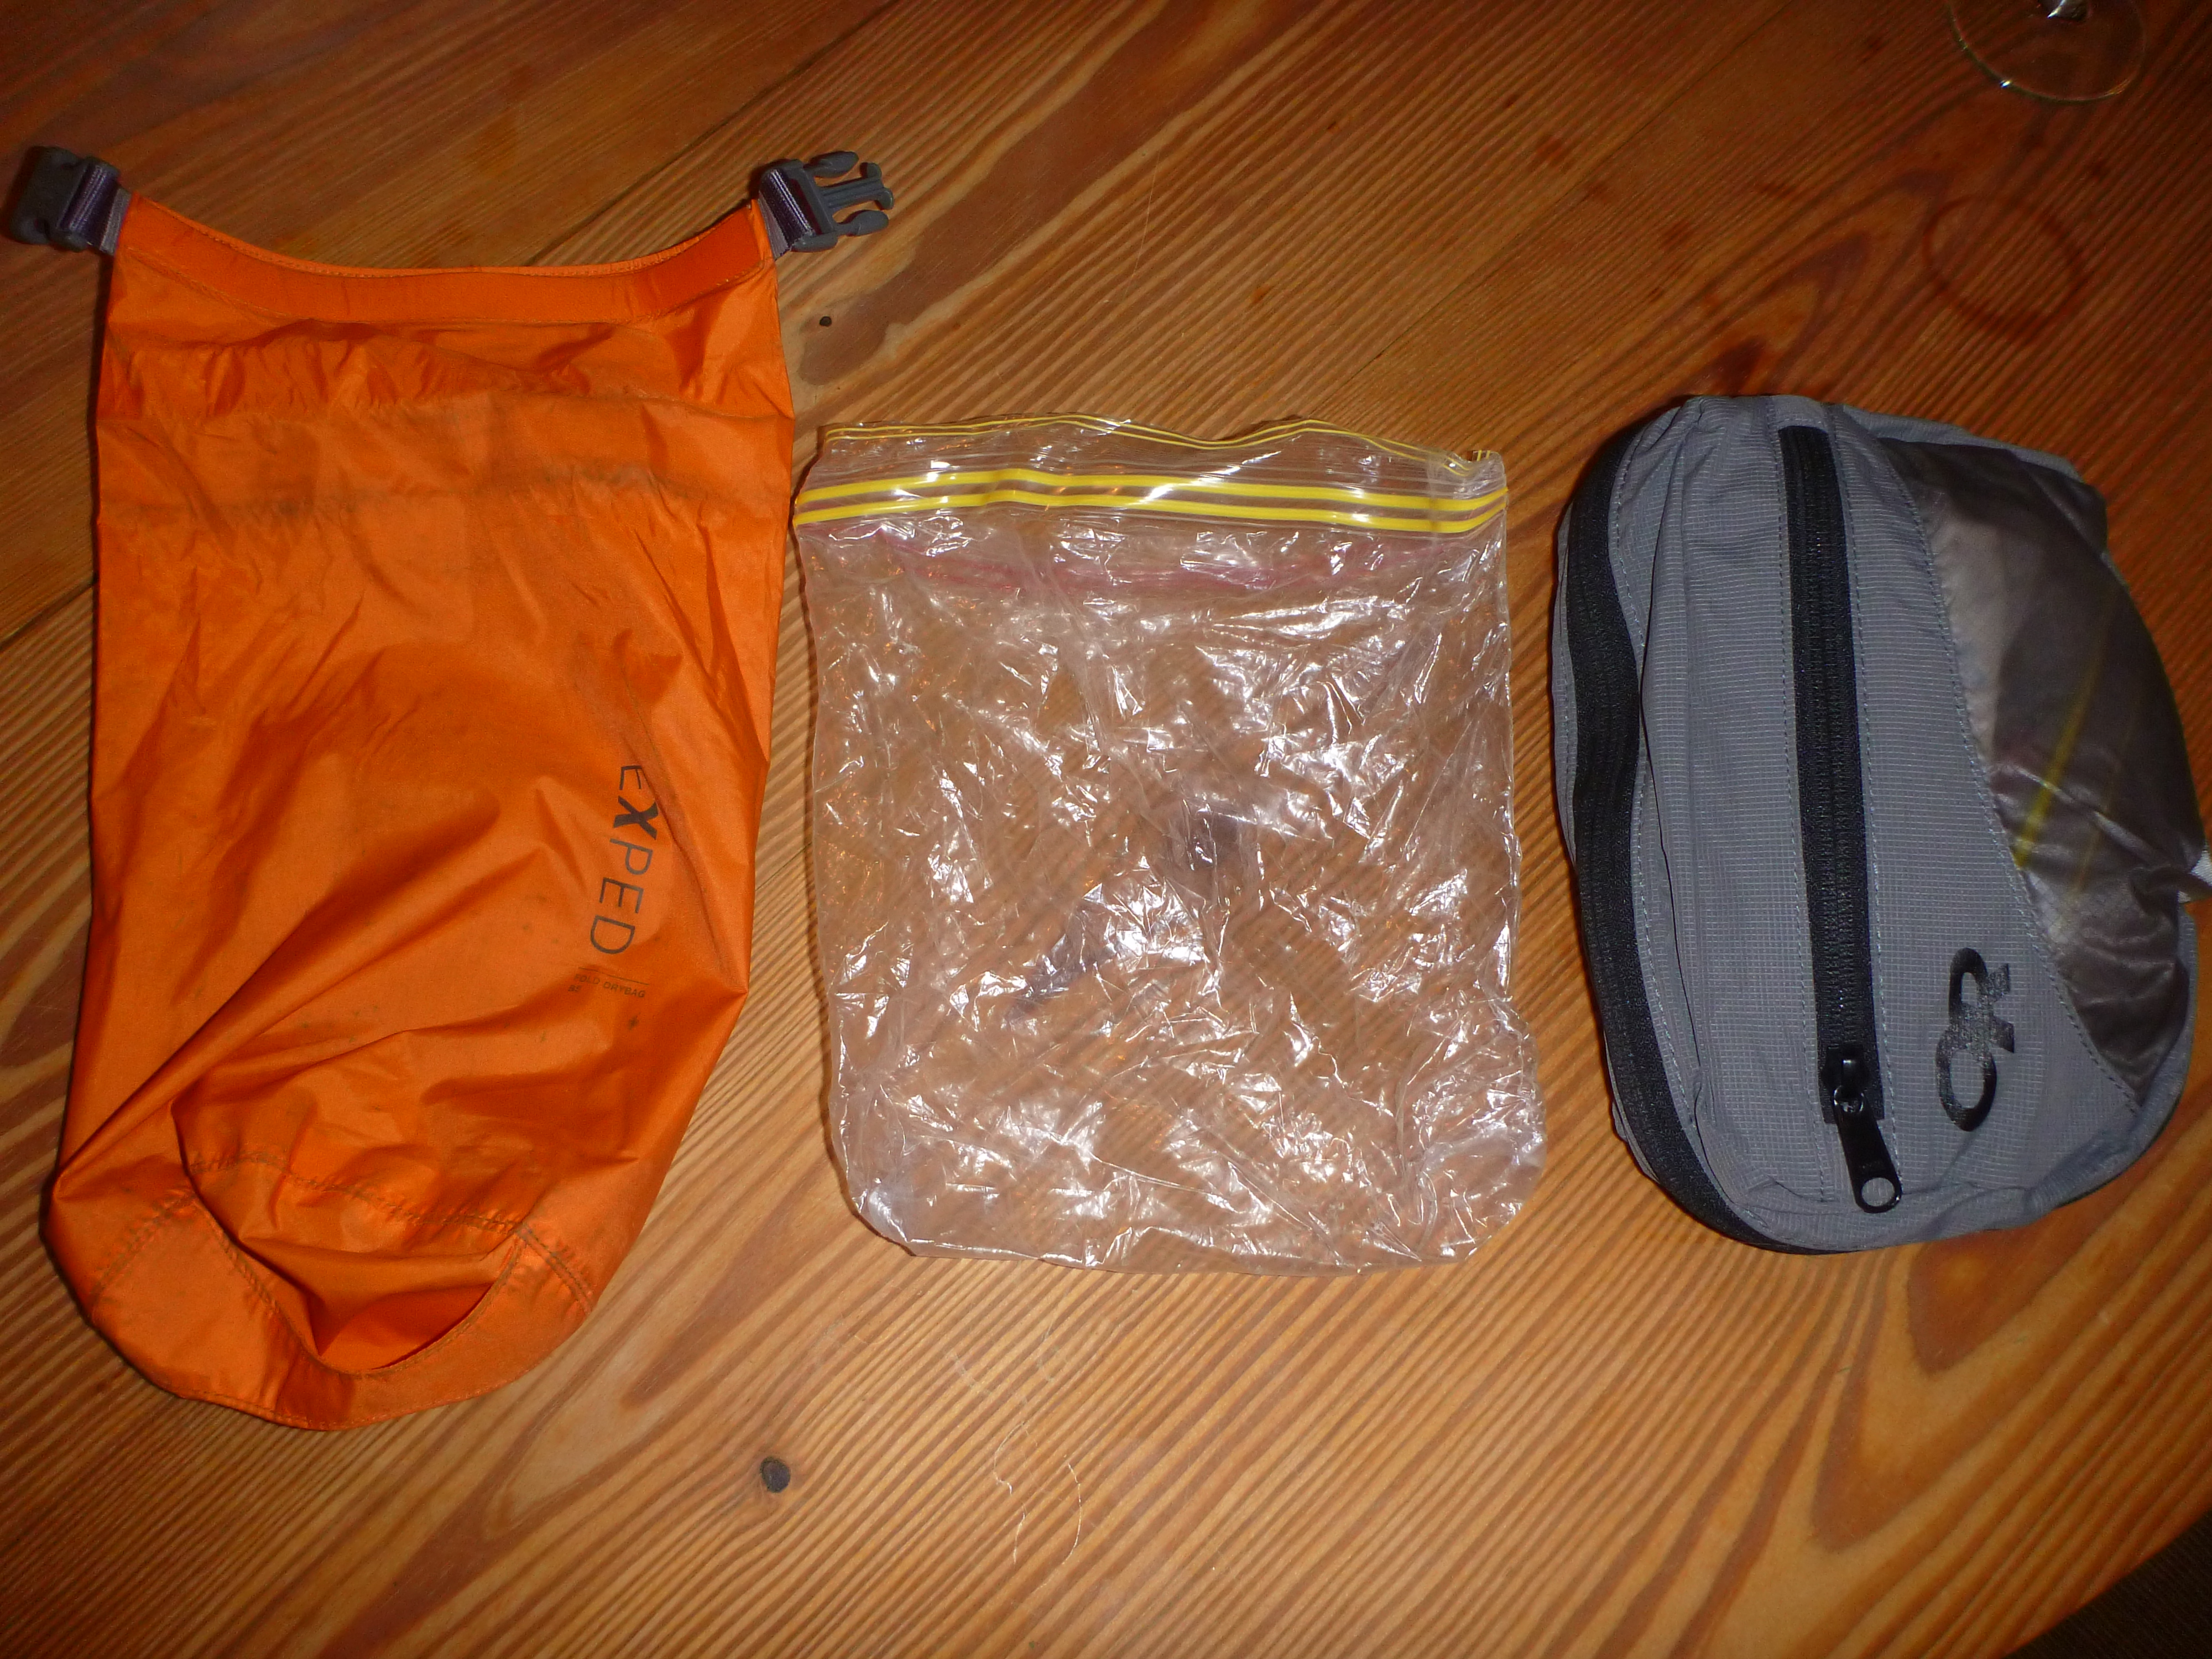
Let’s start with the packaging of my first aid kit. When I first started my kit, I simply used a plastic container from KMart and put a plastic bag around it so it didn’t accidentally pop open. That worked quite well for years. The items were well protected in there and the container gave some waterproofing as well. When I got more and more into wet canyoning I replaced the plastic bag with a dry bag for extra protection.
The handle and edges of the lid then started continuously rubbing on the same spot of the dry bag and caused a hole forming in the bag. After that I filed off any handles and edges on the lid, replaced the dry bag and everything was fine afterwards.
The down side of using a plastic container is that you have to unpack almost everything each time you need to reach an item that is not at the top.
Eventually I got to the point that one more item I wanted to take just couldn’t fit in any more, so I changed to a new bag, the Backcountry Organiser #2 by Outdoor Research. I keep it inside a large freezer bag and then inside a small dry bag. The freezer bag is necessary to protect the dry bag: the zippers always rub on the same spots and damage the dry bag.
First aid kit contents:
Band aids: I carry various sizes of pre-cut band aids. They are quick and easy to use and easy to replace. Since they tend to get used quite a bit, the number I carry varies from trip to trip.
Alcohol wipes: good to clean (disinfect) a wound. They are also needed to repair a Therm-A-Rest sleeping mat in the field.
Sterile non-stick compresses: according to some remote area first aid instructors they are the one and only first aid item you cannot make-shift in the field. You need them for large open wounds.
Triangular bandage: a very versatile type of bandage.
Heavy Weight Crepe Bandage: the brown, strong type of bandage that is good for sprained ankles. It is also the type of bandage you want to use in case of a snake bite. Pharmacies also sell special snake bandages. As far as I know they are essentially the same thing but snake bandages have markings that help you apply them properly. They are a bit more expensive, so it is up to you and your confidence/skills which one you take. I used to carry two of them, but eventually I had to down size to one due to space constraints.
Space blanket: if it is wet or cold and you don’t have any shelter and sleeping bag, this might be your best bet.

Toilet paper: if you ever had the urge and didn’t have it, you know why it is an important item. But not only that, it also comes in handy when you quickly need to dry something or wipe off some blood. I simply keep a few sheets folded in a small freezer bag. You’d be surprised how often it helps in non-toilet-related situations.
Rubber gloves: admittedly one of the few items in there I’ve never had to use. But it could be useful for major injuries with lots of blood. Or if you want to keep an injured hand dry in the rain. I just carry one pair of the light and thin type doctors and nurses use.
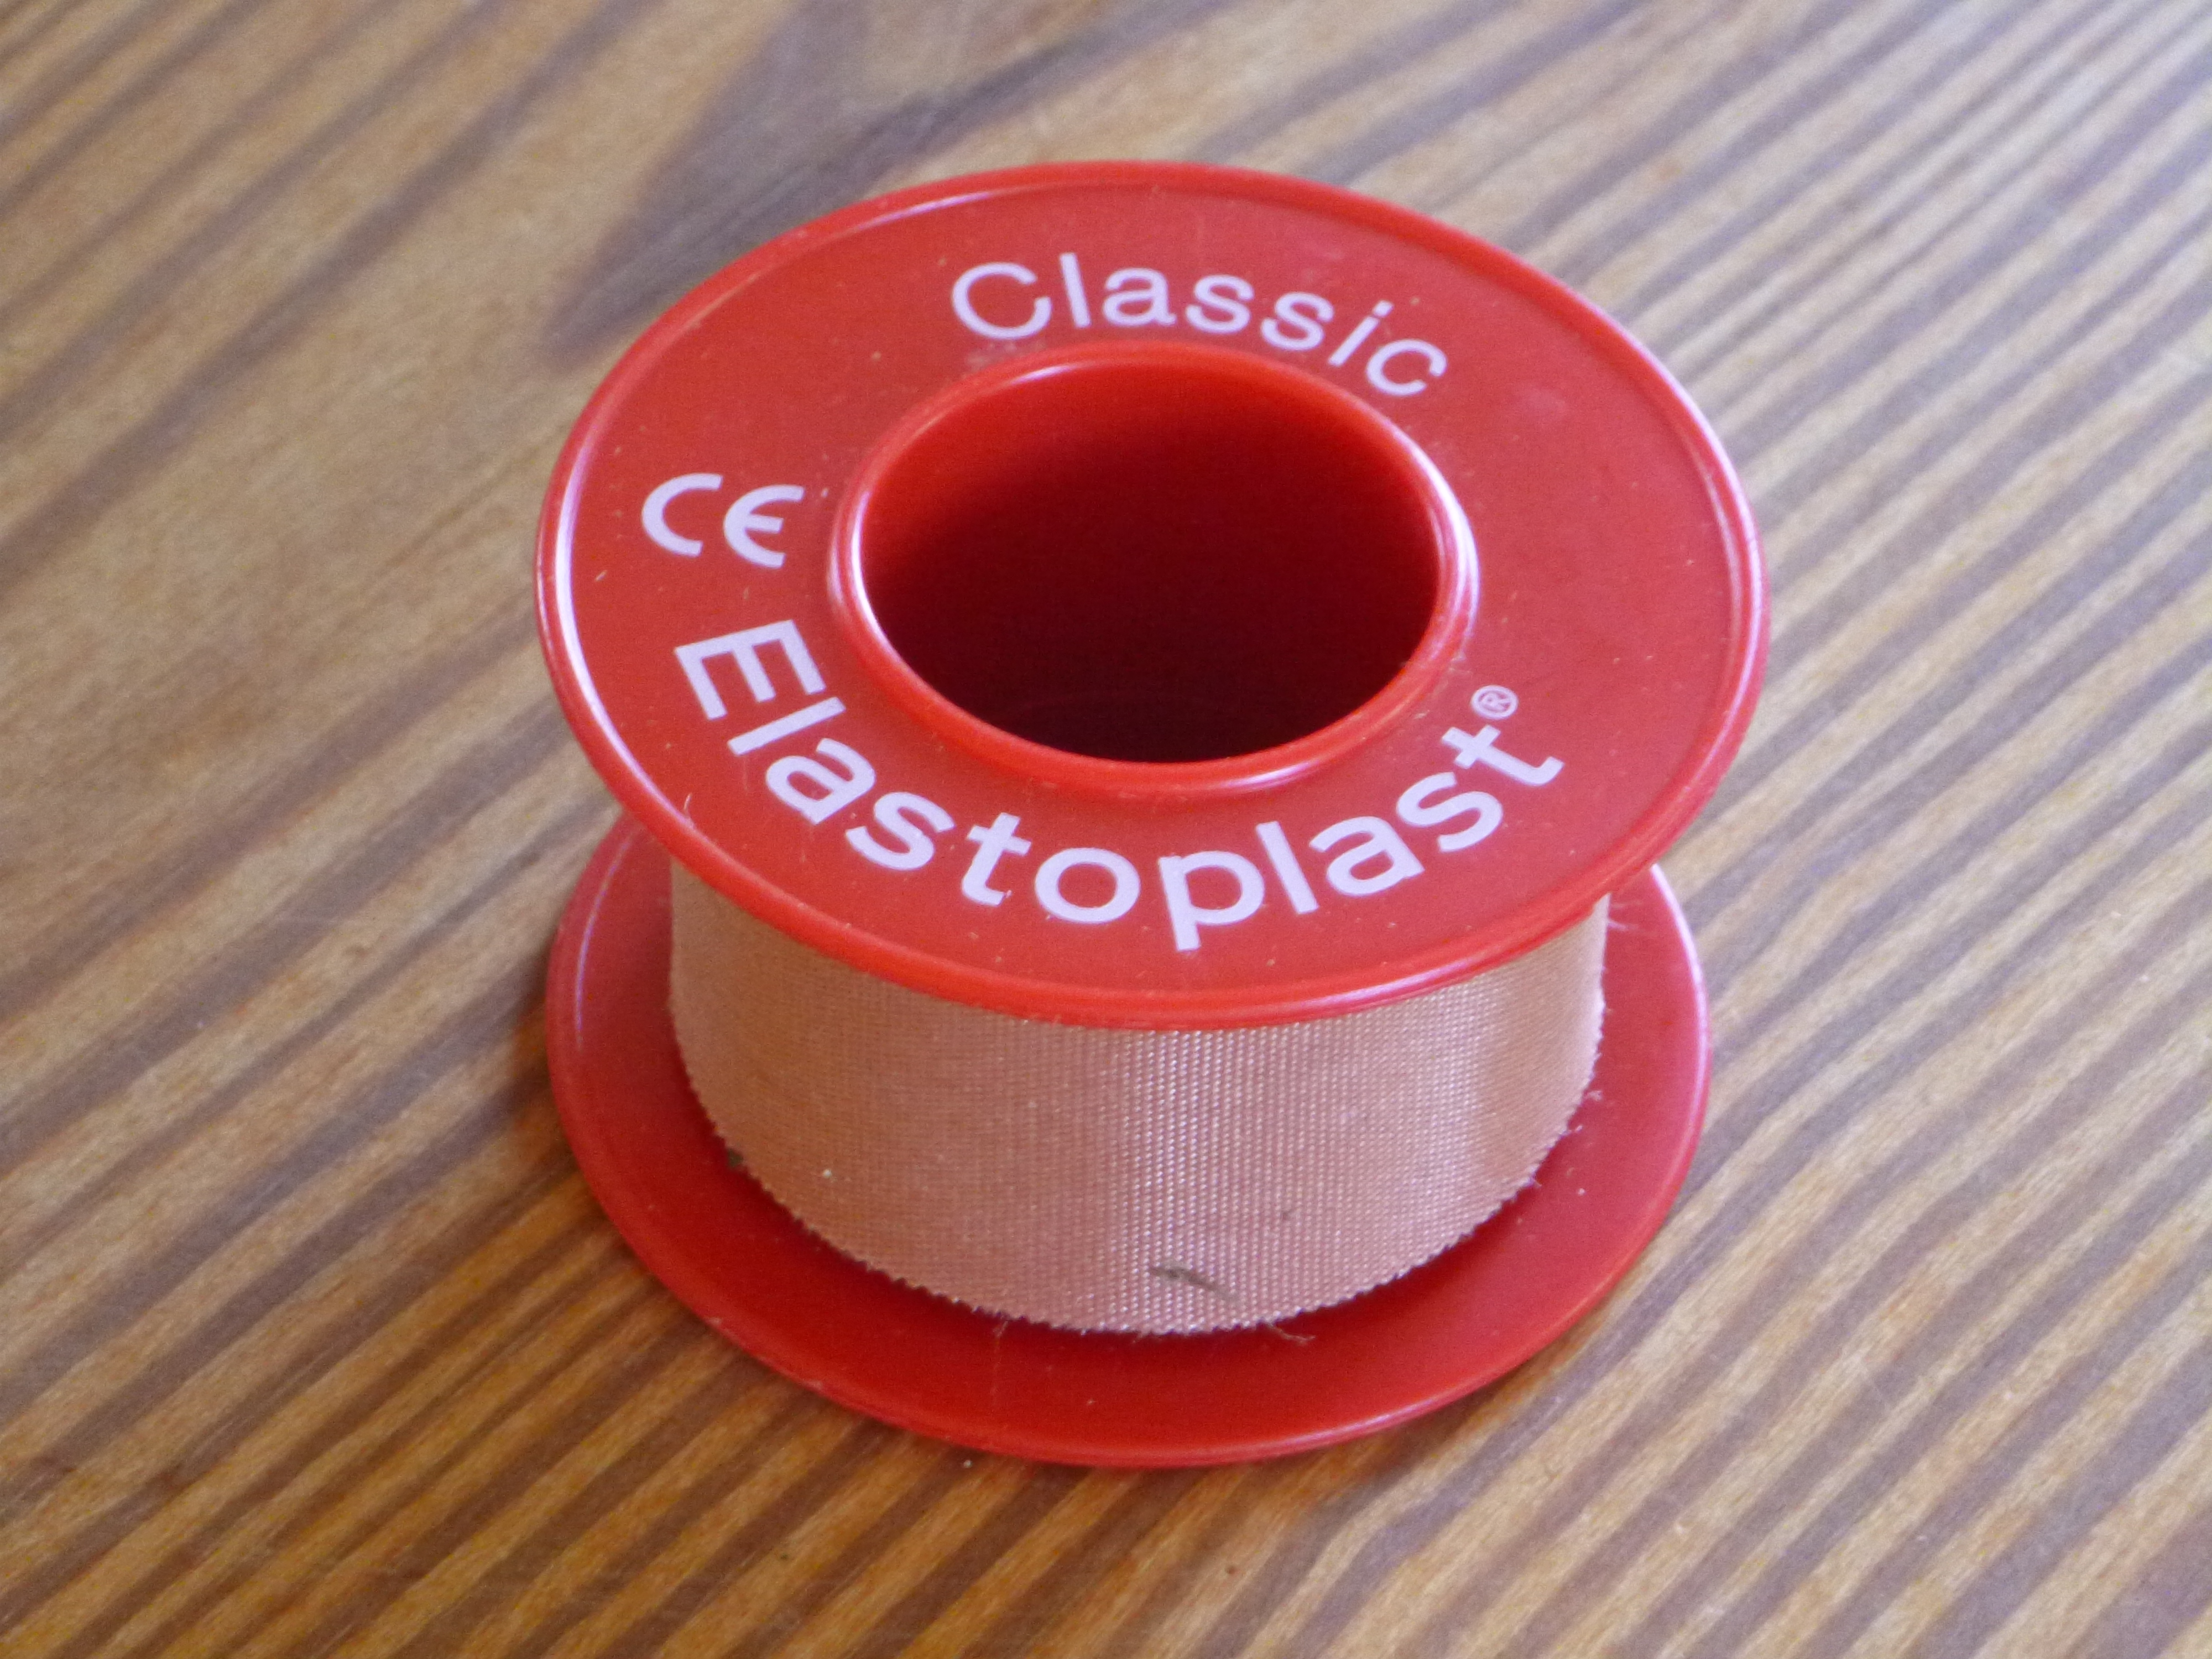
Elastoplast Classic: that’s the brown stuff that comes on a red roll. It is great for blisters (and even better to prevent them before they happen). But it also seconds as sticky tape for all kinds of uses.
Thread and needles: a couple sewing needles wrapped in paper so they don’t poke through the bag and into other items. And of course the thread for it. I use it mainly for gear repair. But the needles also come handy if you really need to pop a blister (sterilise it with a lighter first).
Make sure you test that the thread goes through the needles easily. Otherwise you should consider carrying a needle threader as well.
Safety pins: good to quickly hold stuff together without having to use thread and needles.
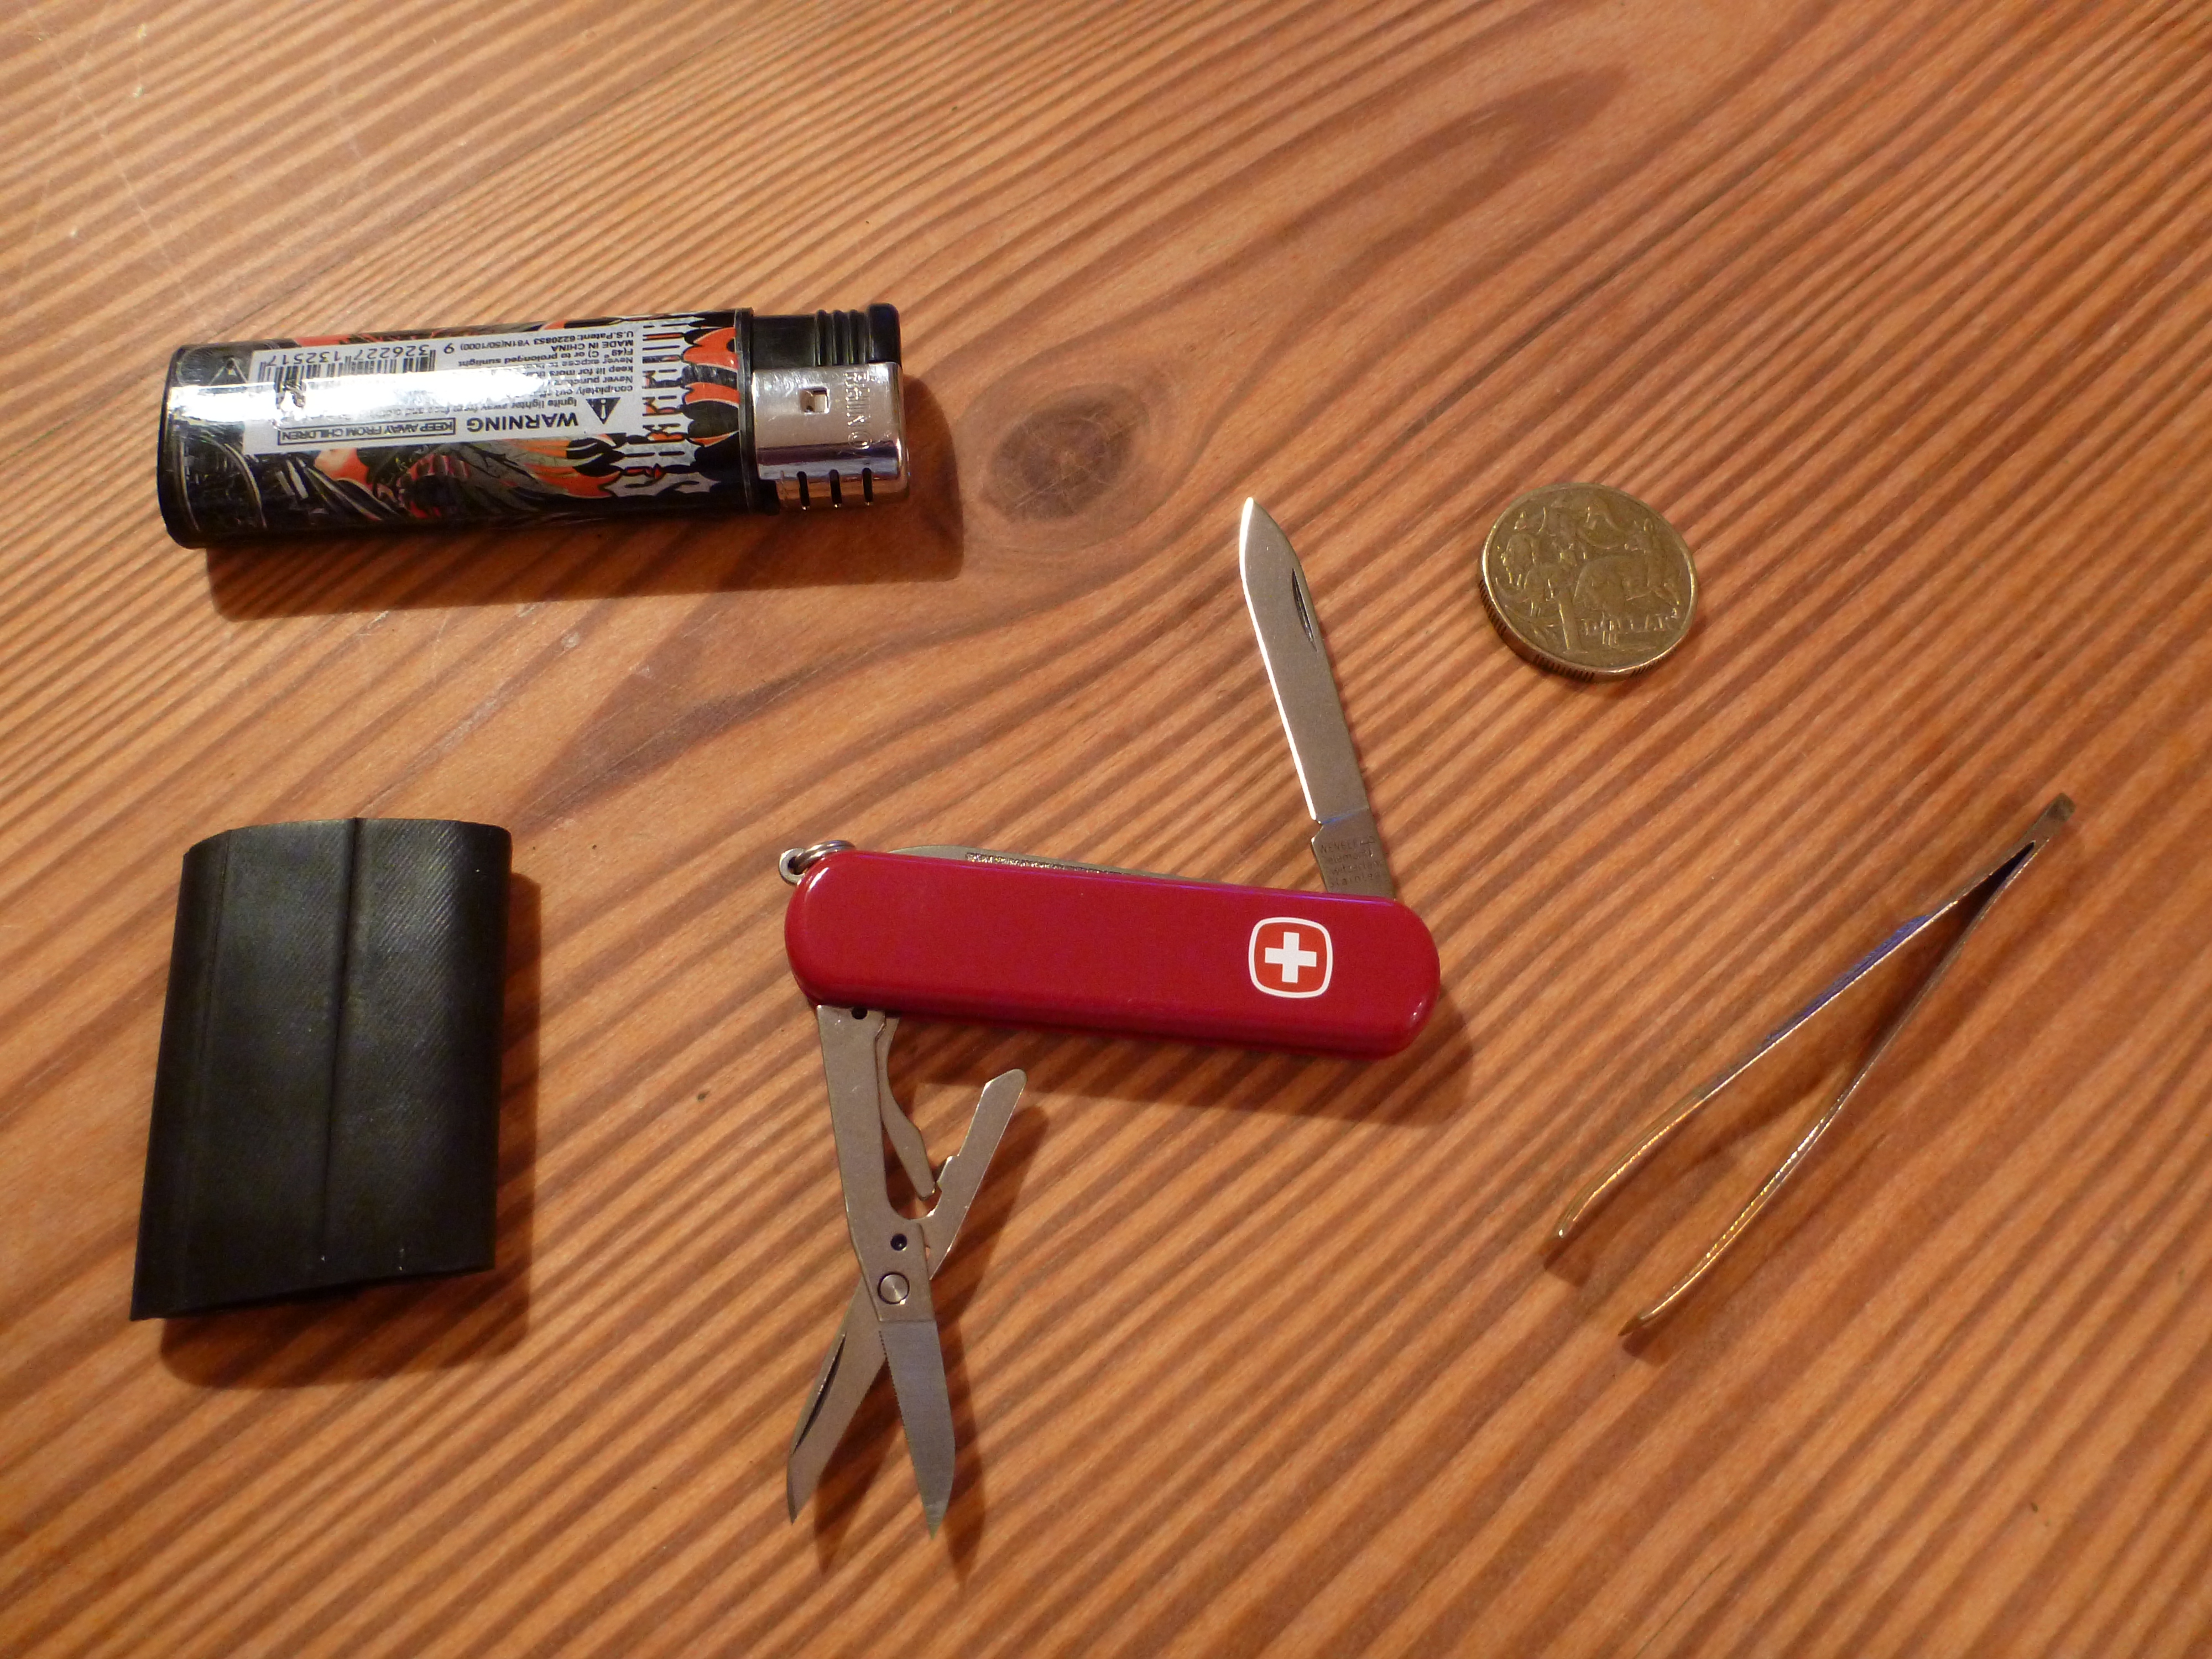
Tweezers: as good as Swiss army knives generally are, their tweezers are rubbish. Thus the first aid kit needs a pair of small but decent tweezers with pointy tips so you can grab splinters.
Jet lighter: don’t go for a normal lighter, use a jet lighter. It is a lot stronger and also works a lot better when there is wind. You can buy them at most tobacconists. If you ever have to cut a wet rope or sling in the field and need to melt the ends you’ll be glad to have the extra power of a jet lighter. Last time I tried to use a normal one I had to give up. The jet lighter melts the wet material without problems. The down side is that they run out a LOT faster. Thus, you need to get yourself a refill-bottle of lighter gas (also from the tobacconist). If you can find one, get a lighter with a transparent body so you can always see how much gas is left. A lighter is not only used for starting fire and melting ropes, but also for sterilising needles and tweezers.
On overnight trips you should have a second fire source. Either another lighter or a gas stove with a flint or similar.
Bicycle tube: I always carry a small piece of bicycle tube. Just a few centimetres. The rubber burns well for a long period, making it a good fire starter when it’s raining. That said, so far I’ve never had a situation where I couldn’t start the fire by normal means using some paper and / or tiny sticks. I keep it as a last resort, partly because I don’t think burning rubber is particularly environmentally friendly.
Small Swiss army knife: you want to have knife and scissors in your first aid kit. I decided to go for the small kind (the ones that just have a knife and scissors and often a nail file as well). I couldn’t find the name of the one I have, but something like the Victorinox Executive 81 is very similar. You usually carry a proper knife amongst your gear, but having a tiny spare just in case is never bad. And that way it is always handy when you’re dealing with first aid incidents.
Spare battery: I always have a spare battery (or set of batteries) for my head torch. I used to carry 3xAAA, which is common for many head torches, but my current one only uses 1xAA, so it got a bit lighter.
Sleeping mat repair patch: different sleeping mats need different kinds of repairs. I have one of the Therm-A-Rest NeoAir type mats where the field repair kit consists of an alcohol wipe and a little sticker. (This is of course only a temporary solution and you have to do it properly using seam gripper at home). I haven’t had to fix my mat in the field, but the very same repair sticker also came in handy to repair my water bladder when it was leaking.
Petzl e+LITE: one should always have one more head torch than one plans to use. Meaning on a day trip you should have one and on an overnight trip you should have a spare as well. For this, Petzl makes the e+LITE which is a tiny emergency head torch. It weights 27g (with batteries) and is surprisingly bright for its size. This light is not for regular use because it is a bit fragile and the batteries are expensive, but it is perfect as a spare that you don’t plan to use if everything goes according to plan.

PLB: a satellite beacon to call for help in a life or death situation. I carry the ACR ResQLink. Because the PLB is safely inside the first aid kit, I removed the pouch it usually comes in and put it inside a little freezer bag instead. I then had to fix the end of the antenna with a piece of sticky tape so it didn’t always unhook due to not being inside the proper pouch.
Micropur: on most of my trips the water is of a quality that I’m happy to drink untreated. But every once in a while there is some dodgy water source we need to use where it is better to treat the water before drinking. And there is not always the ability to boil it properly. Thus, I carry a strip of Micropur tablets. You simply put a tablet in 1L of water and half an hour later it is safe to drink (although it tastes a bit weird).
One of the issues I had when I moved from a solid plastic container to the bag I use now was that tablets kept getting squeezed out of their packaging and going everywhere. The solution I came up with was to reinforce the foil on the back using Elastoplast. Just stick a layer of it on the back of the strip and the tablets stay in. As the tape usually covers important information (name, dose, use-by date, etc) of the drugs, I use a small permanent marker and copy the important information onto the tape. The other down side is that now the tablets are so well contained that you can’t just squeeze them out of the packaging any more. Just use the knife or scissors and cut it open from the other side.
Drugs: well, I’m not a medic, so I can’t tell you what kind of drugs are good for you and safe to use. If you are unsure about what drugs are suitable for which situation and how to use them, ask your doctor for advice. Here are some suggestions what kind of drugs you could consider.
- Anti-inflammatory and pain relief: when you have a moderate injury and you need to prevent swelling or just want to lessen the pain a bit. For example a sprained ankle. A common choice for these cases is ibuprofen (prescription free in Australia up to 200mg/tablet; if you want stronger tablets you need a prescription).
- Diarrhoea: having diarrhoea in the bush is a serious issue. Not only is it annoying, it slows you down to go to the toilet every few minutes. You’re also loosing a lot of water in the process which can lead to dehydration if you don’t have ample supply. It is important to be able to stop diarrhoea should it occur. A common drug for this is Loperamide (better known under the brand name Imodium; prescription free in Australia).
- Paracetamol / Aspirin: I guess we all know what that is good for…
- Strong pain relief: think about having a broken foot or leg and still having to walk on it for a day. These situations do happen, I’ve witnessed it myself once. I once asked a medic about what he recommended for such a situation and he suggested strong ibuprofen and tramadol. This, of course, brings us into prescription drug land with possibly serious side effects.
- Overseas drugs: when you go overseas you might want to consider further drugs depending on where you go. Longer trips can also justify carrying antibiotics.
This concludes the inventory of my current first aid kit, but there are still a few more items that you could consider carrying.
Antiseptic: for some people it is a must. Other people say it’s better to just rinse properly with clean water. I’m not sure who’s ultimately right, but I decided for myself to go with the water option and not carry antiseptic around.
EpiPen: and EpiPen can be essential in cases of severe allergies (e.g. bee stings). If you (or someone you walk with) has these kind of life threatening allergies, you should carry an EpiPen and know when and how to use it.
Ladies hygiene products: I’m a guy, so I don’t carry any of them. If you’re a girl you probably know what you need…
Whistle: a loud whistle to signal other members in your party. If go canyoning, make sure you choose one that also works when wet. The most likely case for you to use it is at the bottom of a waterfall abseil. The ones that are often integrated into backpack buckles don’t work very well here.
Condoms: you never know what happens in the bush. (Make sure you handle them with care and that they don’t go off).
I just put my first aid kit onto a scale and it currently weights 625g. Sure, that is a lot of weight, but there is also a lot in it. For example most people don’t put their PLB inside the first aid kit. Subsequently their kit is lighter but ultimately they are still carrying it all.
I also realise that the whole lot can add up to quite a bit of money, especially if you are on a student budget. The most expensive item is clearly the PLB which costs a few hundred dollars alone. But for starters you can compile a decent first aid kit on a lower budget. Just start with the plastic container and leave out expensive things like the PLB and the e+LIGHT, then you should be able to get the things you need for under $100. You can always upgrade bits and pieces later on.
As I said in the beginning, a first aid kit is always an individual collection of items depending on your needs. So have fun compiling your own one and hopefully you’ll never seriously need it.
* * * * *
Do you have any further ideas or suggestions? Are there items you consider essential that are missing? Do you have any tips or suggestions?